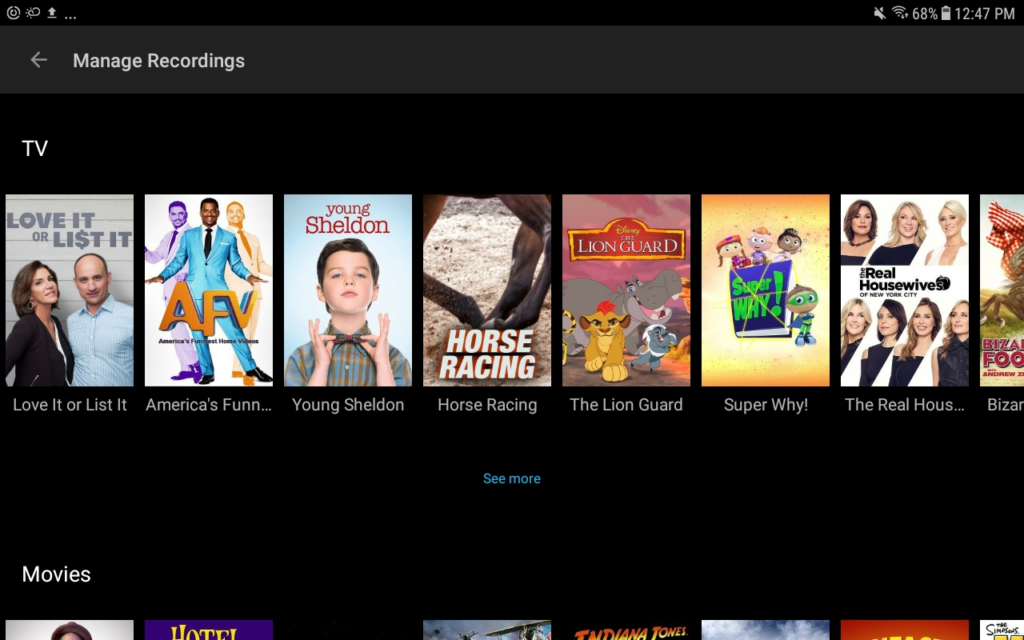
Amazon Fire TV, Android TV and Apple TV
There are two tabs: Recorded (programs that are available to view) and Scheduled (upcoming programs that are scheduled to record). Content is grouped by Series and Movies within each tab section.

When the user selects a series, the user sees a list of the recorded episodes. In addition to various actions that can be taken. These actions take effect either at the series level or the episode level.
At the episode level, the user can choose the following actions: Play, Info (visit the details page) or Delete. If the episode is currently recording, the user will see two additional options: Stop (ends the recording at its current position) and Extend (enables users to add additional time to the recording which is primarily relevant for sports programming).
At the series level, the user can choose from the following actions: Recording Options, Cancel Series Recording, or Delete all Recordings.
- Recording Options. When selected, an additional menu appears in which the user can select to record New Only or New & Reruns. The user may also indicate the channels on which they would like to record the series and whether they would like to extend the recording on an ongoing basis.
- Cancel Series Recording. When selected, a message will appear requesting confirmation that the user would like to setup an ongoing recording for or cancel all future recordings. This action does not delete any recordings.
- Delete All Recordings. When selected, a message will appear requesting confirmation that the user would like to delete all existing episode recordings. This action does not affect the status of ongoing scheduled recordings.
When the user selects a movie from the Recorded content list, on overlay will appear with the options of Play, Stop, and Info.
If the user wants to cancel a recording that is in progress, they may select stop recording from the inline info module on the live guide, and a dialogue box will appear verifying that they no longer want to record the program.
Mobile
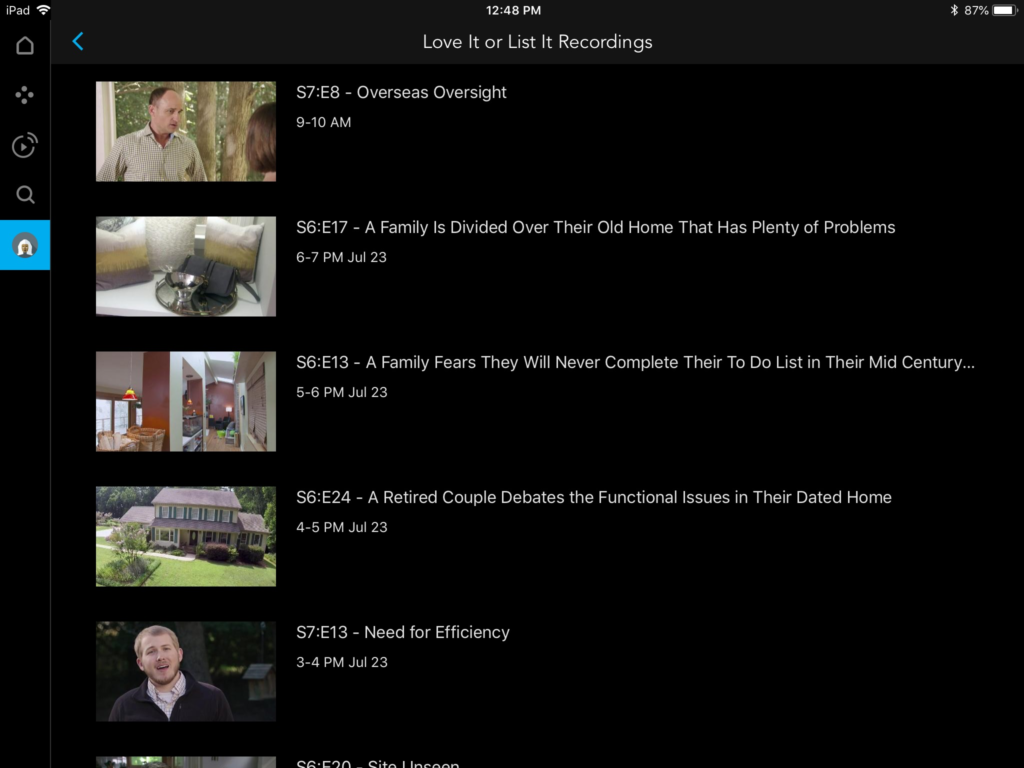
iPad
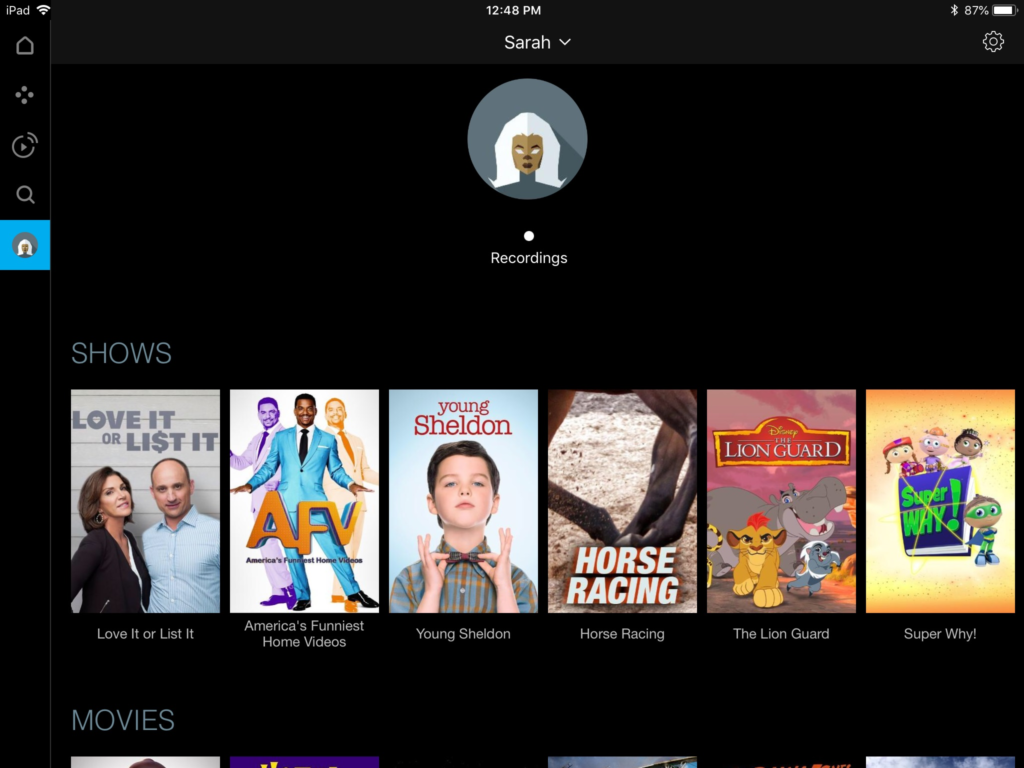
Recorded Episode List
Android Tablet